
Applying for a Canada visitor visa from Nigeria? Here’s the complete, up-to-date guide to visitor visa requirements, fees, documents, and the mistakes that get Nigerian applications rejected.
Canada Visitor Visa: Complete Requirements Guide for Nigerians

I remember a client, a pharmacist from Lagos, who had her Canada visa application rejected twice before she came to us. Both times, she’d used a “visa agent” she found through a Facebook ad, someone who charged her almost ₦1.5M combined and gave her generic advice that clearly wasn’t tailored to her situation. By the time she sat across from me, she wasn’t just frustrated about the money. She’d started believing something was wrong with her, that maybe Canada just didn’t want Nigerians like her.
That’s not true, and I need you to hear that clearly before we go any further. A Canada visa gets rejected for specific, identifiable reasons, not because of who you are, but usually because of gaps in documentation or a story that doesn’t hold together on paper. Once we rebuilt her application properly, she got approved in six weeks.
This guide walks you through exactly what a Canada visa application requires from Nigeria in 2026, the documents, the fees, the process, and the honest realities that most generic guides skip entirely.
Understanding the Canada Visitor Visa
The Canada visitor visa, officially called a Temporary Resident Visa (TRV), allows Nigerians to enter Canada for tourism, visiting family, attending events, or short business trips. It does not permit you to work or study in Canada, those require separate permits entirely.
There are two main categories:
- Single-entry visa — allows one entry into Canada within the visa’s validity
- Multiple-entry visa — allows multiple entries over the visa’s validity period, usually up to 10 years or until your passport expires, whichever comes first
Most first-time Nigerian applicants are actually approved for the multiple-entry option automatically if their application is strong, even if they only requested single-entry. This is standard practice, not a special favor.
Step-by-Step: How to Apply
Step 1: Create Your Online Account
All Canada visa applications now go through the IRCC (Immigration, Refugees and Citizenship Canada) online portal. You’ll create an account, and this is where your entire application will live, from document upload to status tracking.
Step 2: Complete the Application Forms
You’ll need to fill out several forms, including:
- IMM 5257 — Application for Temporary Resident Visa
- IMM 5645 — Family Information form
- Schedule 1 — Additional application information
Be meticulous here. Inconsistencies between your forms and your supporting documents are one of the most common, avoidable reasons for rejection.
Step 3: Gather Your Documents
This is the core of the process, so let’s go deep.
Mandatory Documents
- Valid international passport — with at least one blank page, valid for the duration of your intended stay
- Digital photograph — meeting Canada’s specific photo specifications
- Proof of financial support — bank statements (6 months), stamped and signed
- Letter of employment — confirming your role, salary, length of service, and approved leave
- Invitation letter, if visiting family or friends in Canada, including their status in Canada (citizen, permanent resident, or valid visa holder)
- Travel itinerary — including flight intentions and accommodation plans
- Proof of ties to Nigeria — property documents, family responsibilities, business ownership, anything that demonstrates you have strong reasons to return home
For Business Owners
- CAC Certificate of Incorporation
- Company bank statements
- Evidence of active business operations
For Self-Employed Applicants
- Business registration documents
- Client contracts or invoices showing consistent income
If Sponsored by Someone in Canada
- Sponsor’s letter of invitation
- Sponsor’s proof of status in Canada (citizenship certificate, PR card, or valid visa)
- Sponsor’s financial documents, if they’re covering your trip costs
Step 4: Biometrics Appointment
Nigerian applicants are required to provide biometrics (fingerprints and photo) at a Visa Application Centre (VAC), typically operated by VFS Global in Lagos or Abuja. This is usually scheduled after your online application is submitted and you receive a biometric instruction letter.
Step 5: Pay Your Fees
| Fee Type | Cost (CAD) | Approx. Naira |
|---|---|---|
| Visitor visa application fee | $100 CAD | ₦110,000 – ₦120,000 |
| Biometrics fee | $85 CAD | ₦93,000 – ₦100,000 |
| VFS service charge | Varies | ₦25,000 – ₦40,000 |
Exchange rates shift regularly, so always confirm the current CAD-to-Naira rate close to your payment date rather than budgeting off older figures.
Step 6: Wait for Processing
Standard processing time for Nigerian applicants typically runs 4 to 8 weeks, though this can extend during peak application periods, particularly around the December holidays and mid-year travel season.
What Makes a Strong Canada Visa Application
Beyond just submitting documents, Canadian visa officers are assessing one core question: will you return to Nigeria after your visit? Everything in your application should help answer that question convincingly.
- Show stability — steady employment, an active business, or clear family responsibilities in Nigeria
- Show financial capability — enough funds to comfortably cover your trip without needing to work in Canada
- Be consistent — every document should tell the same story, from your bank statements to your employment letter to your stated purpose of travel
- Avoid vague itineraries — “visiting Canada for tourism” without specifics reads as weaker than a detailed, realistic plan
The Nigerian Factor: What You Need to Know
1. Financial Documentation Gets Extra Attention
Canadian visa officers, much like their counterparts in other Western countries, scrutinize Nigerian bank statements closely. Sudden large deposits shortly before applying are a red flag that experienced officers catch quickly. Build your financial documentation over months, not days, if you can plan that far ahead.
2. PTA and Trip Budgeting Are Separate Conversations
Your Personal Travel Allowance (PTA) of up to $4,000 from Nigerian banks covers your cash needs while traveling, but it’s separate from the proof-of-funds requirement in your visa application. Your bank statement needs to demonstrate sustained financial health, not a lump sum assembled specifically for the trip.
3. Naira-to-CAD Conversion for Your Actual Trip
Beyond visa fees, budget realistically for your time in Canada. At current parallel market rates, CAD 1 sits around ₦1,100–₦1,150, meaning a 10-day trip covering accommodation, food, and local transport can range from ₦1.5 million to ₦2.5 million, depending on the city and season. Toronto and Vancouver run noticeably pricier than smaller cities.
4. Bank Card Limits Matter Once You’re There
Canada relies heavily on card payments for nearly everything. Confirm your international transaction limit with your Nigerian bank before departure, and consider carrying a backup card. A declined card at a Canadian grocery store or hotel front desk is an avoidable stress.
5. Airport Realities from Lagos and Abuja
There are currently no direct flights from Nigeria to Canada, so you’ll be connecting through hubs like London, Amsterdam, or Frankfurt. Departing from Murtala Muhammed International Airport (Lagos) generally offers more connection options than Nnamdi Azikiwe International Airport (Abuja), so factor in layover time and, occasionally, transit visa requirements depending on your connecting country.
6. Watch Out for Fake “Canada Visa Guarantee” Agents
This is one of the most heavily exploited visa categories for scams targeting Nigerians. No legitimate agency or individual can guarantee Canadian visa approval — that decision rests solely with IRCC visa officers. Be especially cautious of anyone requesting large upfront payments with promises of guaranteed outcomes.
7. Common Rejection Reasons for Nigerian Applicants
- Weak or inconsistent proof of ties to Nigeria
- Insufficient financial documentation
- Unclear purpose of visit or vague travel plans
- Previous immigration violations in other countries, undisclosed
- Mismatched information across application forms and supporting documents
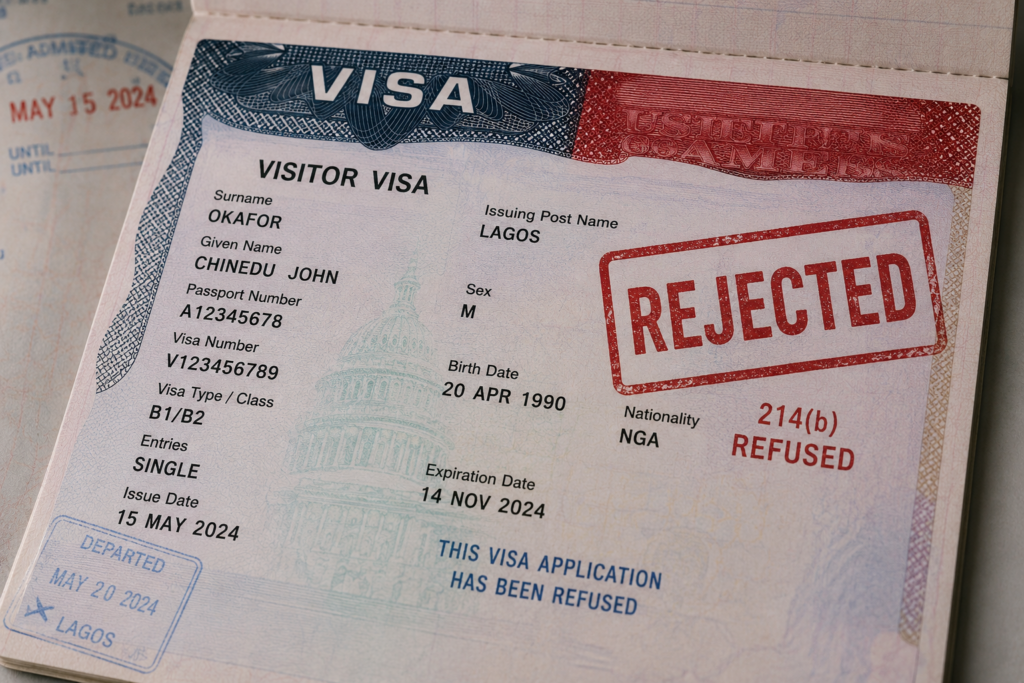
If refused, IRCC provides reasons in your refusal letter. Address these specifically before reapplying rather than resubmitting an identical application.
Quick Summary: Canada Visa Checklist
| Step | Action | Timeline |
|---|---|---|
| 1 | Create IRCC online account | Before starting anything |
| 2 | Complete application forms | 4–6 weeks before intended travel |
| 3 | Gather and upload documents | Alongside form completion |
| 4 | Attend biometrics appointment | After application submission |
| 5 | Pay fees | At submission |
| 6 | Wait for processing | 4–8 weeks |
| 7 | Book flights | Only after visa approval |
Conclusion
A Canada visa application succeeds or fails on the strength of your documentation and the clarity of your story, not on luck or connections. Give yourself enough lead time, keep your financial records clean and consistent, and be honest and specific about your travel plans. That pharmacist from Lagos didn’t need a miracle the second time around — she needed a properly built application, and that’s available to anyone willing to put in the preparation.
Have specific questions about your own situation? CONTACT US and let’s go through your documents together before you submit anything.
And if someone in your circle is currently preparing their own Canada visa application, share this with them. A little clarity now saves a lot of frustration later.
Safe travels.